Read on to know how to apply lipstick perfectly:
-
EXFOLIATION:
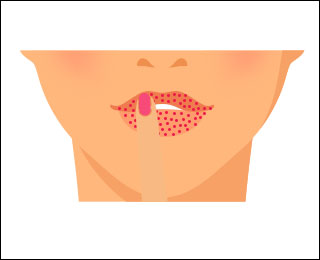
Your lipstick, especially if you’re using mattes, can tend to flake off your lips or worse, crack in places. Being the most important (often overlooked) step, exfoliation is a must. Use the scrub at least 15 minutes before the application. The scrub takes off that surface layer of dead skin giving you a great canvas to work with. Place the exfoliator on your lips and rub gently. You can also use a toothbrush to really get in there and eliminate dead skin.
-
MOISTURIZATION:
After exfoliating, your lips will feel a bit bare. This is the time to generously slather on some lip cream or balm to hydrate them. The lip balm will also prevent them from looking dry and cracked and allow the lipstick to simply glide on.
-
FOUNDATION:
Next, pat on some foundation. If you want the maximum color payoff from your lippie, this step is unmissable. If you have darkened or pigmented lips, never skip it because it’ll create an even tone all over your face. As you can tell, flawless application has more to do with prep than the actual application, so just be patient and do your groundwork right.
-
LIP LINER:
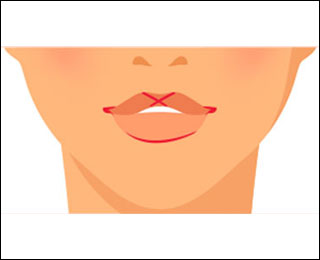
We can’t emphasize enough the importance of liner when it comes to applying nude, red or even vampy lipstick shades. It creates a well-defined boundary for your lips, for precise application. X and dash, these should be your two mantras. Start with creating an X sign tracing your cupid’s bow. Next, create a dash on the lower half of your lower lip, directly below your X. Next start lining your lips from the edges. Keep your liner horizontal and draw a line pulling towards the X on the upper lip and the dash on the lower lip- one side at a time.
-
LIPSTICK:
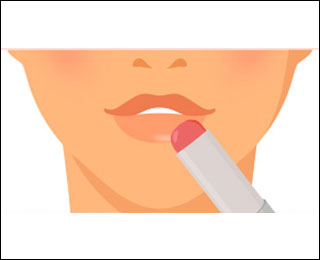
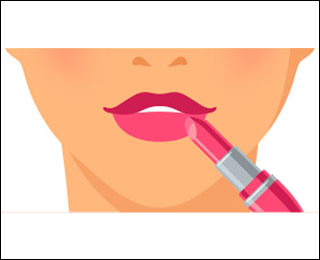
Whether it’s directly from the bullet, with a brush or a liquid formulation, the process is the same. Start applying it within the boundary you’ve created around your pout on your lower lip first. Once you’ve practiced enough times, you’ll get it in one swipe, however, if you don’t- don’t stress, girl. Split your lip into sections and put it on by pulling inwards, towards the centre. Now purse your lips, pull them in and say “mouse”. You’ll see that your lipstick has transferred to your upper lip. Don’t worry, that’s what we’re going for! Again, split your upper lip into two, and repeat as you did the lower lip, swiping towards the X of your cupid.
-
CONCEALER:
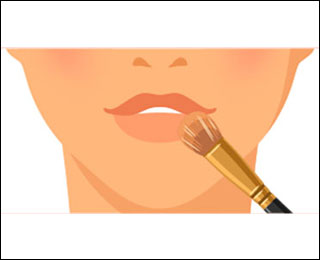
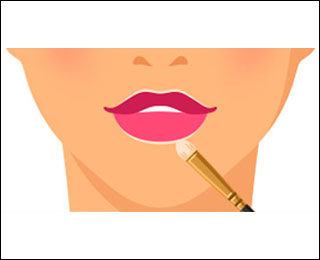
You messed up? No, we’re not disappointed, it happens to the best of us! Make sure you have your concealer ready, pumped out on a thin, angular brush. In the event that you’ve painted outside the lines, use your brush and cover it up. Another way to cover up your mistake would be to use an earbud soaked with makeup remover and swipe off the mess. Use the dry side to blend your foundation back in place.
-
MAKE IT LAST:
To prevent smearing and straying of your lippie, you need to add some steps to ensure it stays put. Avoid that coloured smile, you know the one we’re talking about, where your lipstick gets on your teeth, by simply sticking your finger in your mouth, pursing your lips and pulling it out. You’ll see all the extra colour left behind on your digit. Another way to make it last is to place a single ply tissue on your pout and dust with loose powder. It’ll lock in the formula and keep it is place for hours!
