There is a lot that we learnt from spending nearly two years cooped up at home. From layering our own bangs to getting at-home facials, we’ve done it all. Safe to say, that all of us today are well-equipped to take the matters of grooming and self-care into our own hands. Which is why this at-home 10 step manicure is going to be easy-breezy for you! Whether you’ve officially become a fan of all things DIY or you’re trying to cut back on some money, these tips and tricks are gonna come in handy. With a little patience and practice, you’ll be flaunting perfectly manicured nails in no time! Let’s begin, shall we?
Step 1: Begin With Clean Nails
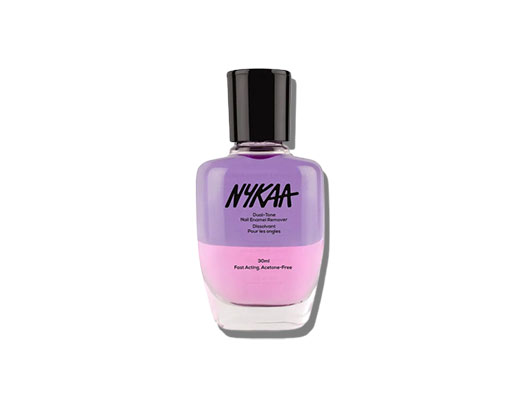
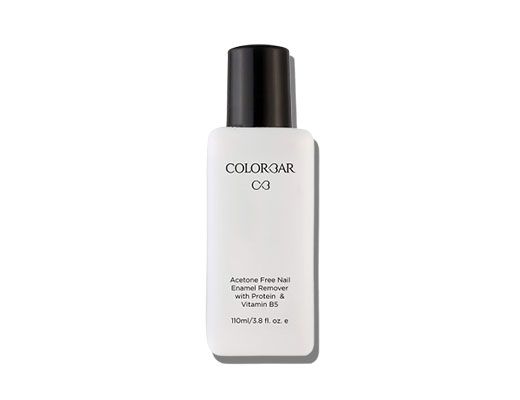
Using a polish remover is mandatory. It takes off the paint quickly as well as removes dirt and oil too. Add some polish remover to a cotton ball and go over all the nails one by one. Once done, wash your hands thoroughly with soap and water.
Step 2: Shape ‘Em
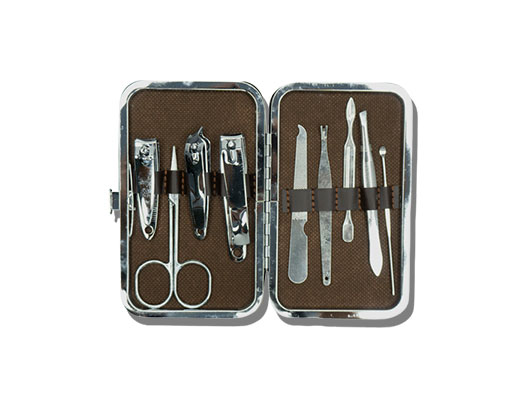
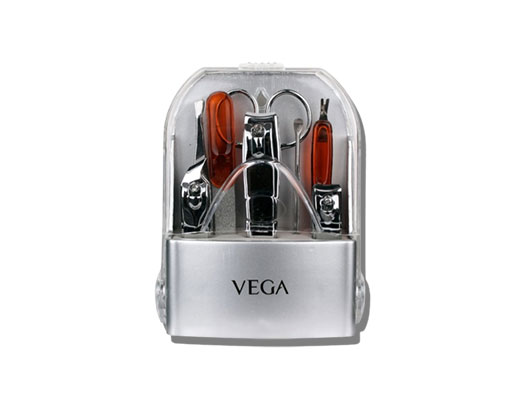
Now is the time to bring out your manicure set. If your nails have outgrown their shape, begin by clipping them. If not, you can file them neatly to get round, coffin, square or almond shaped tips. Make sure to not over-file them. If you have thin or brittle nails, tilt the filer at an angle underneath your nails, so you know exactly how much to file. Lastly, use a buffer to kind of ‘iron’ out the ridges and create a smoother, shinier surface.
Step 3: Soak ‘Em
Here comes the best part of the manicure! Allow your hands to soak in a tub of warm water. You can add a few drops of your shampoo for some lather. Let it sit for 2-3 minutes at least.
Step 4: Buff Your Hands
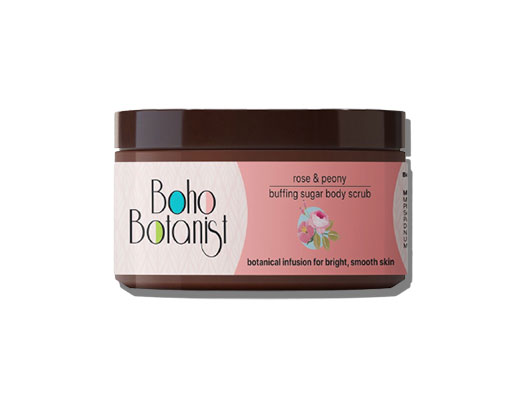
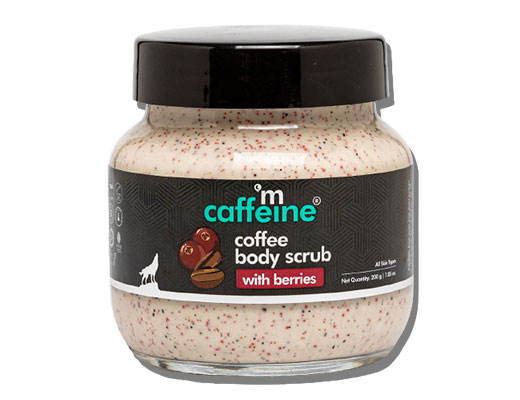
While they are still damp, exfoliate your hands and fingers using a body scrub. This will eliminate a tan, dead skin cells and dirt build up to give you baby soft hands. Once done, wash your hands thoroughly with water.
Step 5: Push The Cuticles
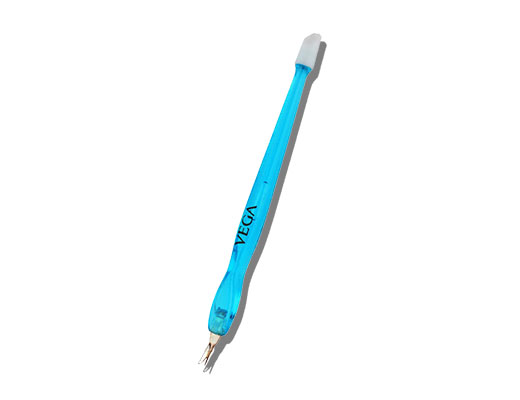
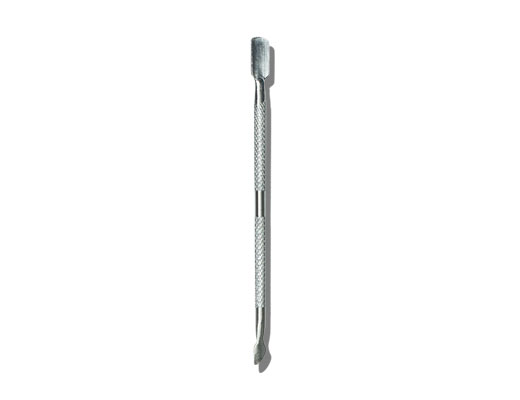
Now that you have exfoliated, use a cuticle pusher and gently push back on the excess cuticle around the nails. Remember: Cuticles help to keep your nails healthy and protect them from bacteria, so avoid cutting or trimming them altogether.
Step 6: Restore The Moisture
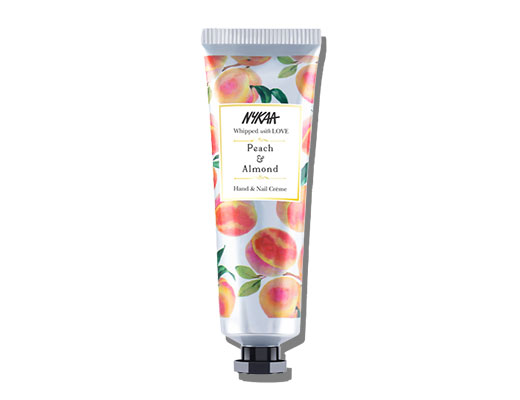
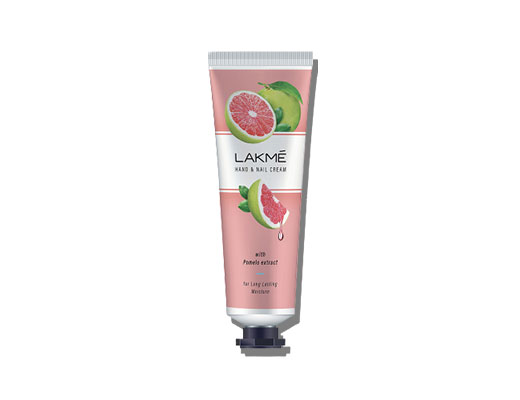
Nobody likes dry, dud hands, right? Pick a nourishing hand cream and cuticle oil to give your hands a mini massage and restore the lost moisture. Place a drop of the cuticle oil on every nail and gently massage until absorbed. Then, rub your hands together until the hand cream has completely melted, and you’ve got yourself nice smelling, super soft hands. Lastly, wipe off any excess product using some nail remover and a cotton swab.
Step 7: It’s Time For Base Coat
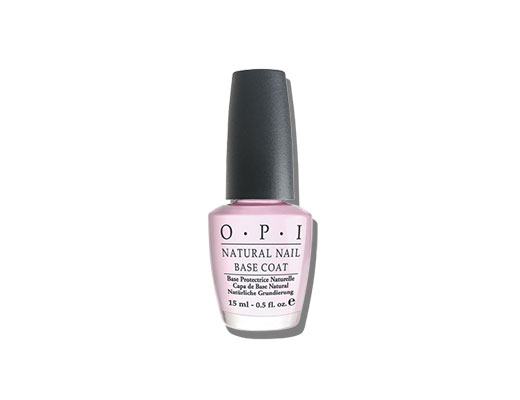
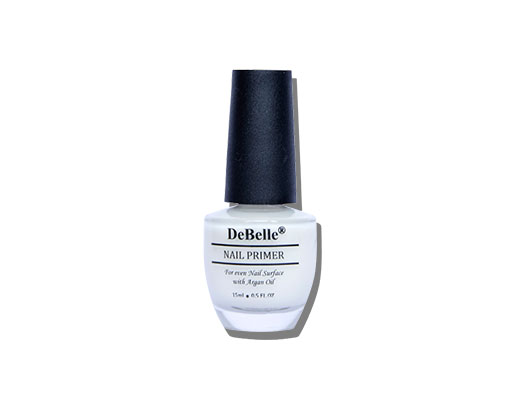
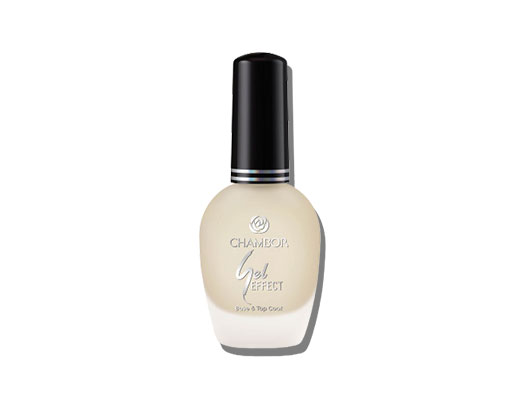
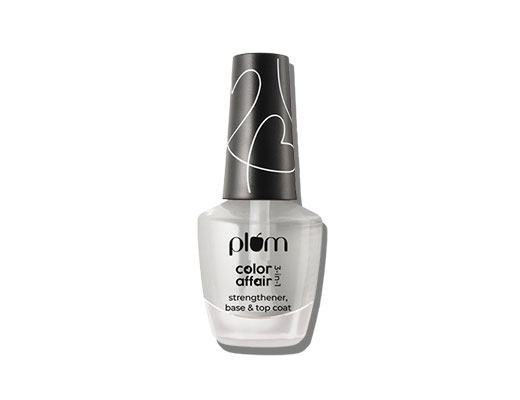
This is crucial, especially if you have weak or brittle nails. It has nail strengthening properties that prevent it from breaking or chipping. Plus, it also prevents your nails from staining, especially if you are planning on wearing a dark nail colour. Hang around for a couple minutes until it is completely dry, and then move on to the next step.
Step 8: It’s Time To Paint!
With the colour of your choice, paint your nails in a clean, single motion. Starting from the nail bed, all the way down. Make sure you’re not picking up too much paint on the brush. Coat the entire nail using three streaks - one on in the left, one in the right and one in the middle. Then, allow it to dry. The second coat will take care of any see throughs present.
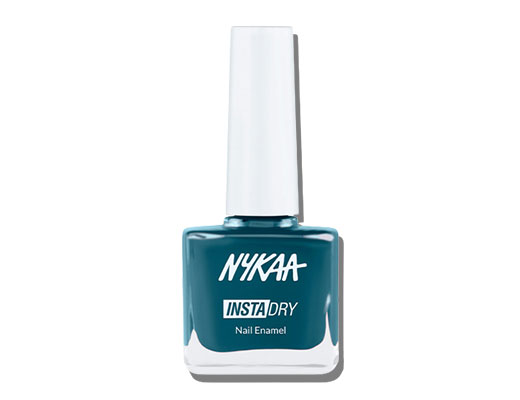
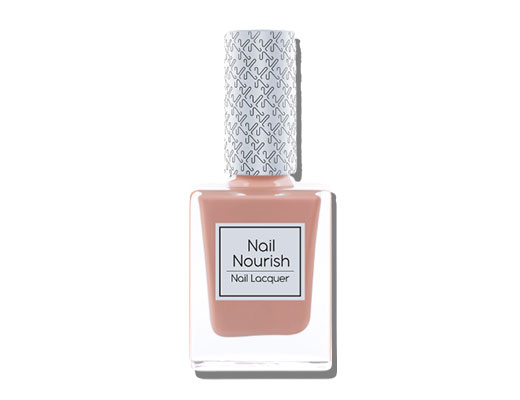
Not sure what colour to pick? Check out these trendy shades.
Step 9: The Second Coat
After a couple minutes, apply your second coat of colour. Keep it nice and really thin. In case you’ve picked a pastel or a very light shade, you might require a third coat too. So, gauge the coverage and take a call. Always remember to keep the coats thin. Otherwise, the paint will smudge and also catch print marks easily.
Step 10: Seal It In
If you notice any oopsies or wobbly edges, dip a Q-tip or a toothpick in the polish remover and trace your nail bed carefully. Do this only after the second coat has dried off. As for the final step, apply a top coat to lock the colour in place and give your nails a glossy, gel-like or matte finish.

