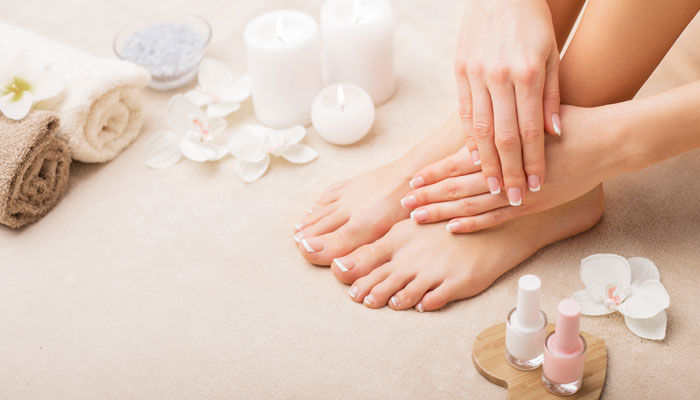
We’ll start with a poll: Is there anything as relaxing and therapeutic as getting your nails done? Well, we’ll take that as a big nope. Now picture this: you’re sitting in a cozy Barcalounger with your hands and feet dipped in warm lathered water, and watching your nails get filed, cut, and polished to perfection. Doesn’t that take you on a joy ride to heaven already? And just when you begin to enjoy this feeling, you start contemplating the trek to a salon. Well, it feels like a trek.
Of course, there must have been times when you’ve stumbled upon a luscious pink and all you’ve been wanting is to have them on your toes. So, what do you do, wait for the next salon appointment or take the steering wheel in your hands? Well, no more stalling ladies. For all those times you’ve found yourself yearning for the perfect mani-pedi, we’ll help you do one right in the comfort of your living room.
Cuticles, shellac, 5-free polish! Wondering what they mean? To begin with, the world of manicures has a bunch of jargons and if you’re someone who’s attempting her first manicure at home, then here’s what you need to know.
A manicure is a beauty treatment of the hands. To begin with, you’ll first finely cut, file, and polish your nails. Down to the next step, you’ll push back your cuticles and buff them for a tidier look. And finally, paint the nails with a shade of your choice. Voila!
Believe us or not, pedicure is now an in thing! It originates from the Latin words ‘pedis’ meaning ‘of the foot’ and ‘cura’ meaning ‘care’. In short it’s a cosmetic treatment of the feet. And just in case you thought it’s only about painting your nails, then lady, you’re yet to explore a lot more.
Simply put, pedicure is a comprehensive treatment of your feet. Besides cutting, filing, and shaping your toenails, the best part is – it revives your cuticles; plus exfoliates and hydrates them. All you’ll need is a gentle massage afterwards and a polish, if you desire.
To get a great manicure and pedicure at home, follow the pros. And that means starting with basic supplies. Take a look at our cheat sheet and find what purpose each tool’s got for you. Let’s begin!
1. Nail Buffer
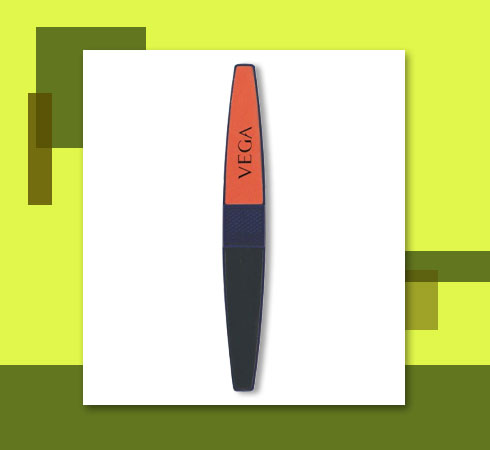
Sure, naturally glossy nails qualify for #NailGoals for you ladies, but have you ever wondered how to get ‘em? Enter nail buffer, your nail rescuer. A respite to your dull-looking nails, this small yet power-packed tool will provide your nails with all the shine. What’s more profiting is it aids to remove dry ridges or nail peeling by smoothening them out.
Nykaa recommends: Vega Nail Buffer (NB-01)
2. Nail Cutter
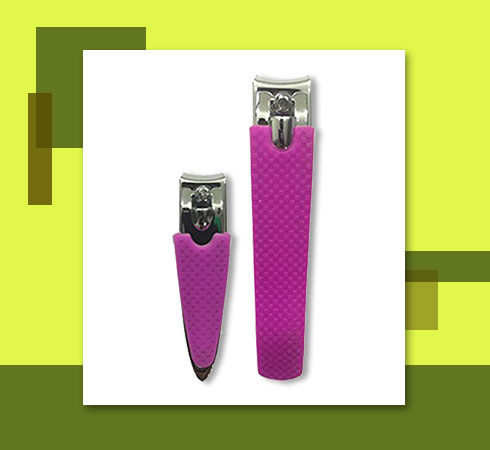
By now we’re sure you already have this one in your nail cutter kit. And given that nails are a breeding ground for microbes and potentially one of the most dirt-prone areas of your body, a nail clipper isn’t too much to ask for. Plus it’s one of the most basic tools you could ask for a home manicure or pedicure. Quite doable, right?
Nykaa recommends: Panache Deluxe Nail Cutter Set
3. Cuticle Pusher
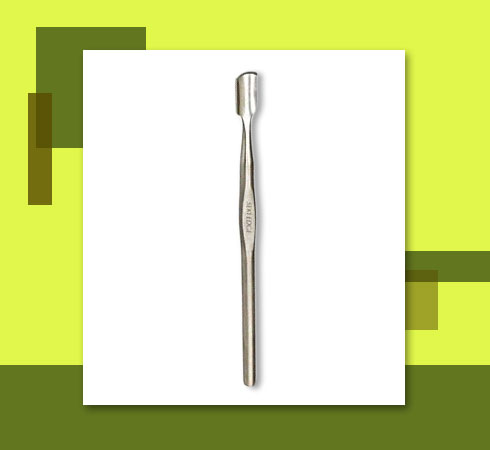
God forbid you leave those cuticles dry and flaky! Enter cuticle pusher – your quick fix tool to try a DIY pedicure or manicure at home. A cuticle pusher pushes your cuticles as further as possible. If you’ve got hard, tough skin, a steel cuticle pusher can be your best bet. For soft cuticles, we suggest a wooden one.
Nykaa recommends: Seki Edge SS-303 Stainless Steel Crafted Cuticle Pusher
4. Manicure & Pedicure Brush
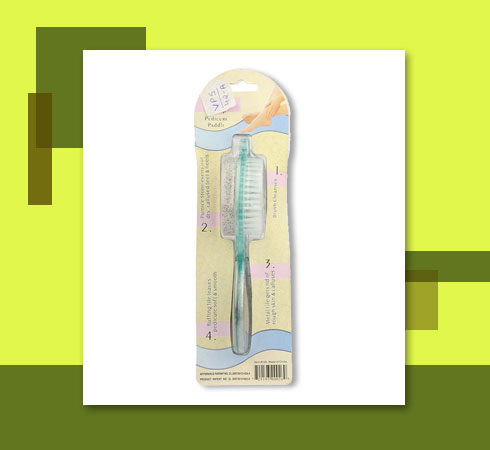
The name suggests it all! A nifty nail brush is all you need to dust off the bad nasties from under and around your nails and cuticles. And the best part – a gentle sweep and a manicure or pedicure brush will remove stubborn stains and dirt from your nails in a jiffy. So, if your goal is neat and dapper-looking nails, sought a manicure brush ASAP.
Nykaa recommends: Chaoba 4 In 1 Foot File With Pedicure And Manicure Brush Pedicure Tool Regular
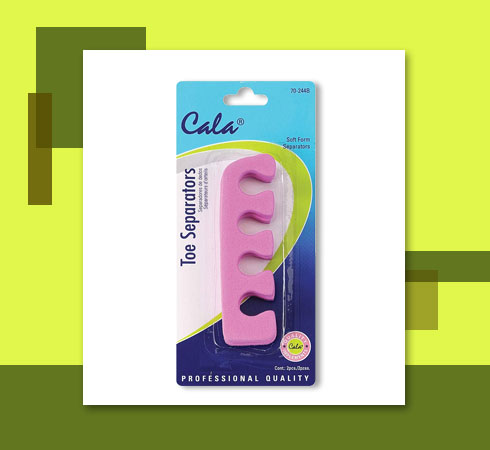
5. Toe Separator
Quite literally, a pressure releasing tool and let’s say your go-to instrument to fight bunions. What’s more? Get joints realigned, improve blood circulation and (you’ve got to read this) straighten bent toes that cause foot pain. Multi-purpose, much? Yes, you can also place them between your toes to prevent smudging your polish.
Nykaa recommends: Cala Pedicure Toe Spacer Separators
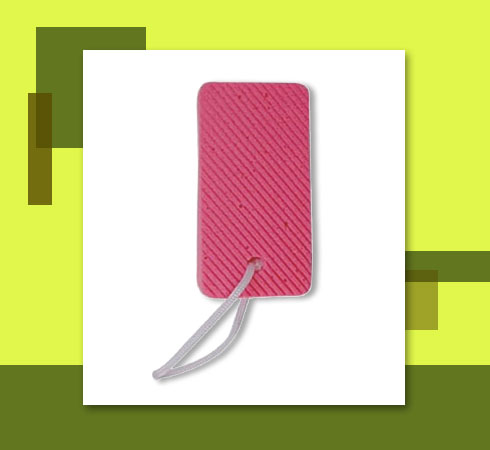
6. Pumice Stone
You may thank us for passing down the secret to soft heels. Say aloha to a pumice stone and stop worrying about cracked heels, dead skin cells and callouses. Not just that, it also softens corns and reduces pain from friction. Are you as amazed as us? A mere cosmetic tool with so many benefits! What’s not to love?
Nykaa recommends: Babila Pumice Stone PC-V010 Light Weight
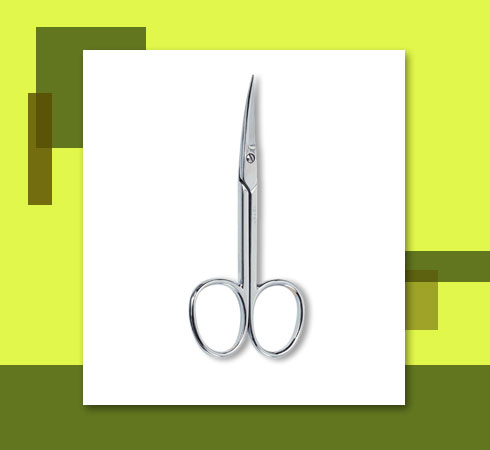
7. Manicure Scissors
If you’ve got them in your nail arsenal, then be assured to have a safe cutting experience (we mean your pedicure and manicure sessions). These scissors can cut deep across the nails and prevent ingrown toenails. The tops – they are perfect to remove excess skin and niggling hangnails.
Nykaa recommends: Beter Beauty Accessories Chrome Plated Curved Manicure Cuticle Scissors(34045)
Certainly there is something therapeutic about a professional manicure and pedicure. But scooch in ladies, we’ve got this one for you. To help you with a brilliant DIY manicure and pedicure at home, take a look at how we’ve tailor-made each step for you.
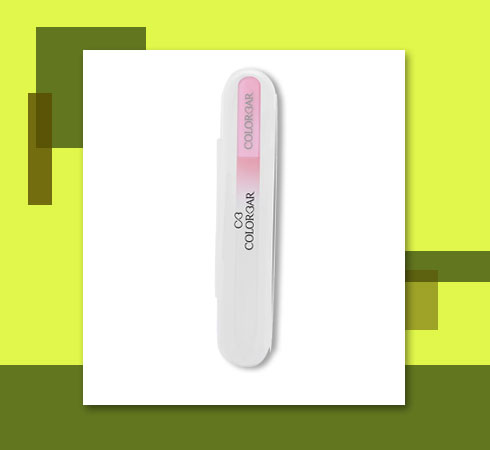
Step 1: Begin with a clean canvas. Ensure your toenails and fingernails are polish free. Next, use a clipper or a nail filer to softly shape your nails to your desired length. You can opt for the Colorbar Well In Shape Crystal File, for it’ll tend to the most delicate nails and prevent nail splitting. Up next pick a buffing block and smoothen out your nails.
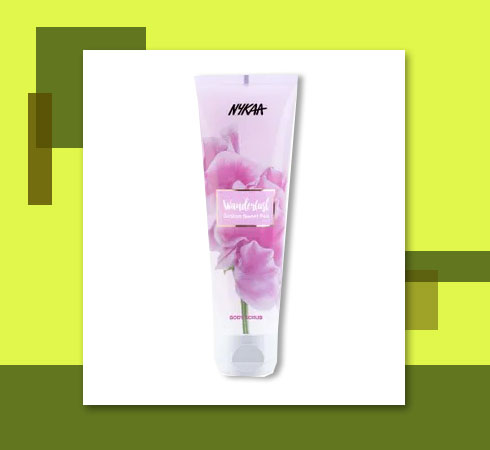
Step 2: Moving ahead without soaking and scrubbing your hands and feet can be a sin. So remember: soak your hands for 3 minutes and your feet for 5 minutes. Now, time to exfoliate. We love the Nykaa Wanderlust Body Scrub, but just in case you’re out of one, here’s a quick fix. Mix a tablespoon of sugar with a tablespoon of any essential oil, and gently scrape out the dry, dead cells. Tadaaa!
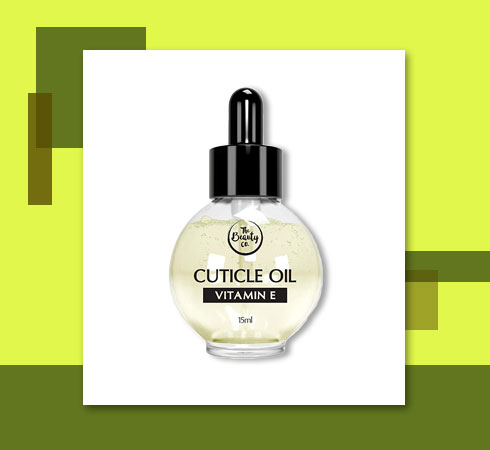
Step 3: Rub a tad bit of cuticle oil on your cuticles to soften them. Pick The Beauty Co. Vitamin E Cuticle Oil without any qualms. By now your cuticles should be soft, so move ahead and gently push them back using a cuticle pusher. And before you think you’re done, remember to swipe the nail beds with a polish remover to get rid of any product.
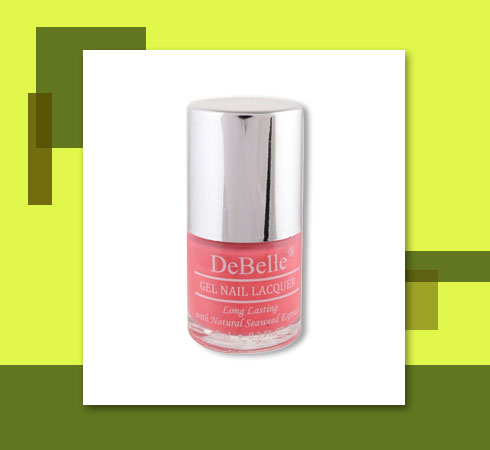
Step 4: Don’t miss the oh-so-essential base coat. One thin coat and you’re done. Then paint two thin layers of gorgeous polish like the DeBelle Gel Nail Polish. Once done, apply a top coat. Why? It evens out any flubs and adds more shine. If you want to do it like the professionals (isn’t that the whole point, though), swipe it down the center of your nail and then cover each side.
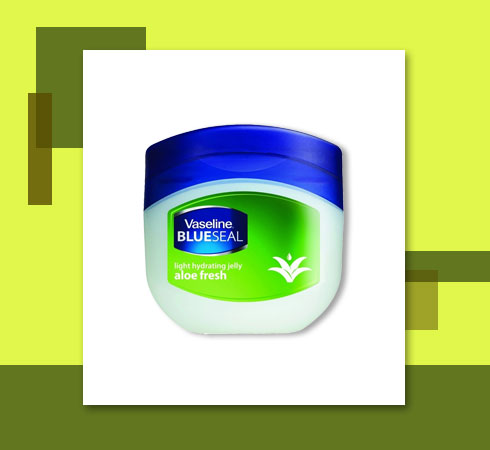
Step 5: This is the best part! Lay on your couch binging on your favorite show. You deserve it, and so do your freshly painted nails. For a picture-perfect finish, gently sweep a thin layer of Vaseline Aloe Fresh Petroleum Jelly onto your toenails and fingernails. Although optional, it really accelerates the drying process.
FAQs on Manicure and Pedicure
1. What is the average cost of a pedicure?
Since each pedicure is different, prices may vary. However, you can expect to spend between 2K - 4K for a pedicure.
2. Which pedicure lasts the longest?
Do away with dull or chipped polishes and take the Gel pedicure. It often tends to last the longest.

